Free Model Download
Skadis Screen Mount
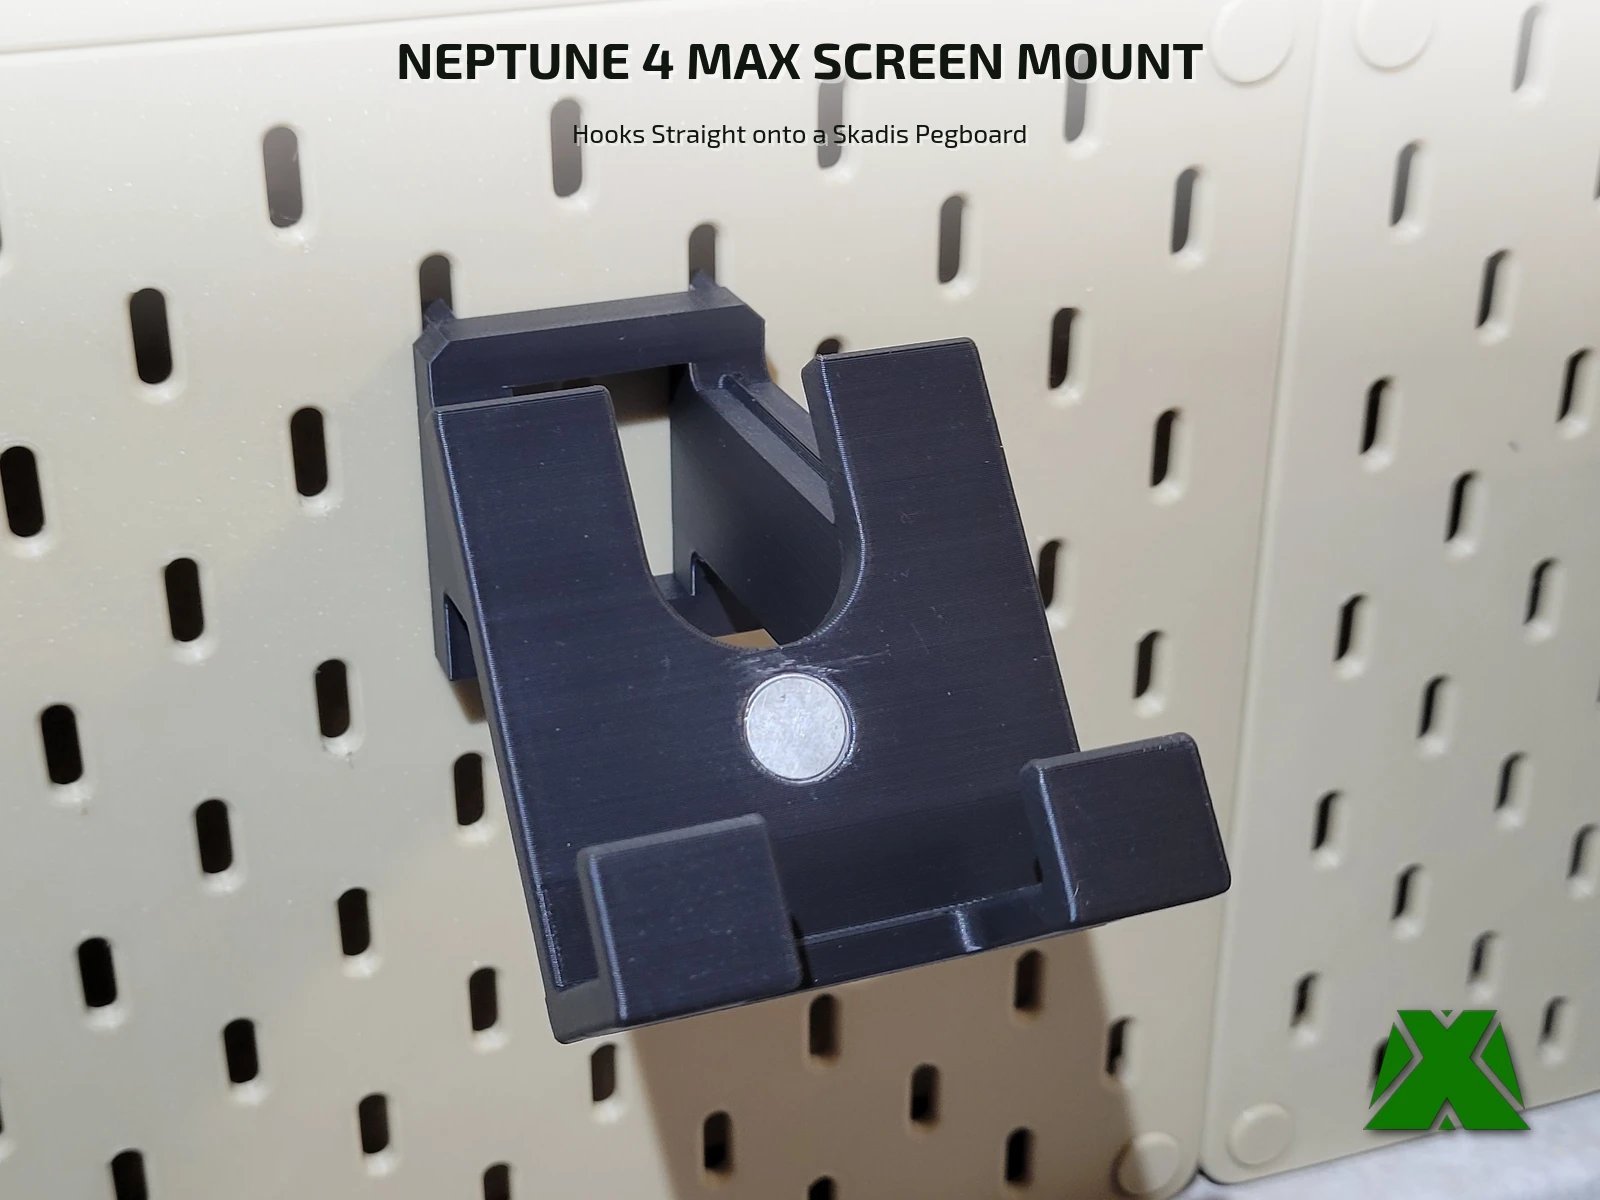
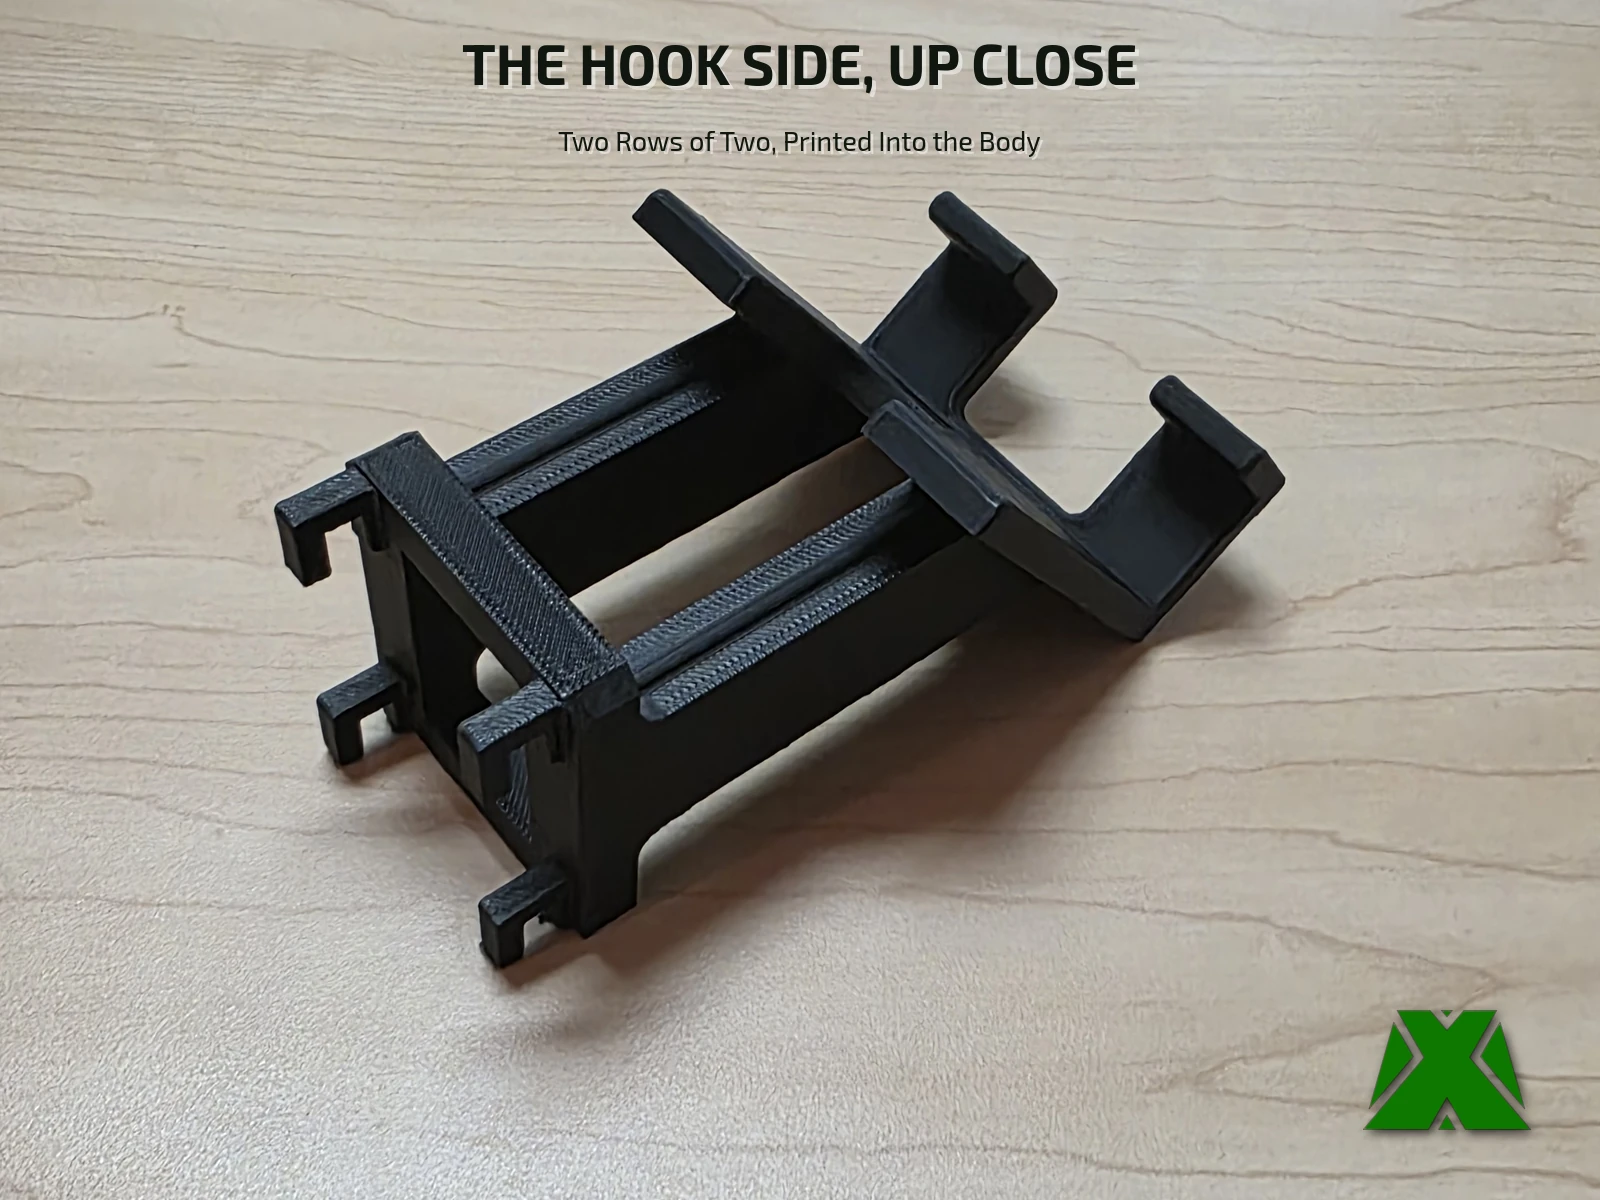
The Neptune 4 Max's touchscreen controller detaches from the printer, which is great right up until it is sitting loose on the bench taking up space. This puts it on the pegboard instead — still at arm's reach, off the work surface. Four hooks are printed into the body, so it hangs on a Skadis board with no screws, no adhesive and nothing to buy. One piece, one plate.
Downloads
Get the Files
One STL and one 3MF. The 3MF carries the profile this part needs — tree supports, a 5 mm outer brim and 0.12 mm layers — so it is the faster path if you are on a Creality machine.
Every download through Creality Cloud earns points that help keep my models free and my pages running. If you have an account, downloading from there is the best way to support the work at no cost to you.
Download on Creality CloudThe 3MF is the faster path — it carries the support and brim settings this part needs. A full print & hang guide is attached to the model listings.
The same guide attached to the model listings, hosted here so you can read it before you print —
What It Holds
The Screen, Not the Printer
Worth being clear about before you spend four hours of filament on it, because it is a specific part for a specific job.
Print Settings
Slice It Right
This one does need supports. Tree supports on auto at a 30° threshold, plus a 5 mm outer brim — the part is tall and narrow on the plate and the brim is what keeps it there. All of that is already in the 3MF.
The fussy part of the build is cleanup, not printing. Supports sit under the hooks and in the cradle throat, and every hook throat has to be clear before the screen will seat properly. If the mount ends up sitting proud of the board, that is why — not the board. The guide walks through it.
It takes a patch of board about 70 × 61 mm and stands 123 mm off the face, which is real leverage on four printed hooks in a plastic panel. Rigid enough to work the touchscreen where it hangs; not something to lean on. PLA is fine unless the board sits right beside an enclosed printer, in which case print it in PETG.
More models and tested slicer settings on my Creality Cloud profile.
View ProfileReleased under CC BY-NC-ND 4.0 — free for personal use, credit appreciated, no commercial use or derivatives.