Free Model Download
Wyze Pan Cam Riser Mount
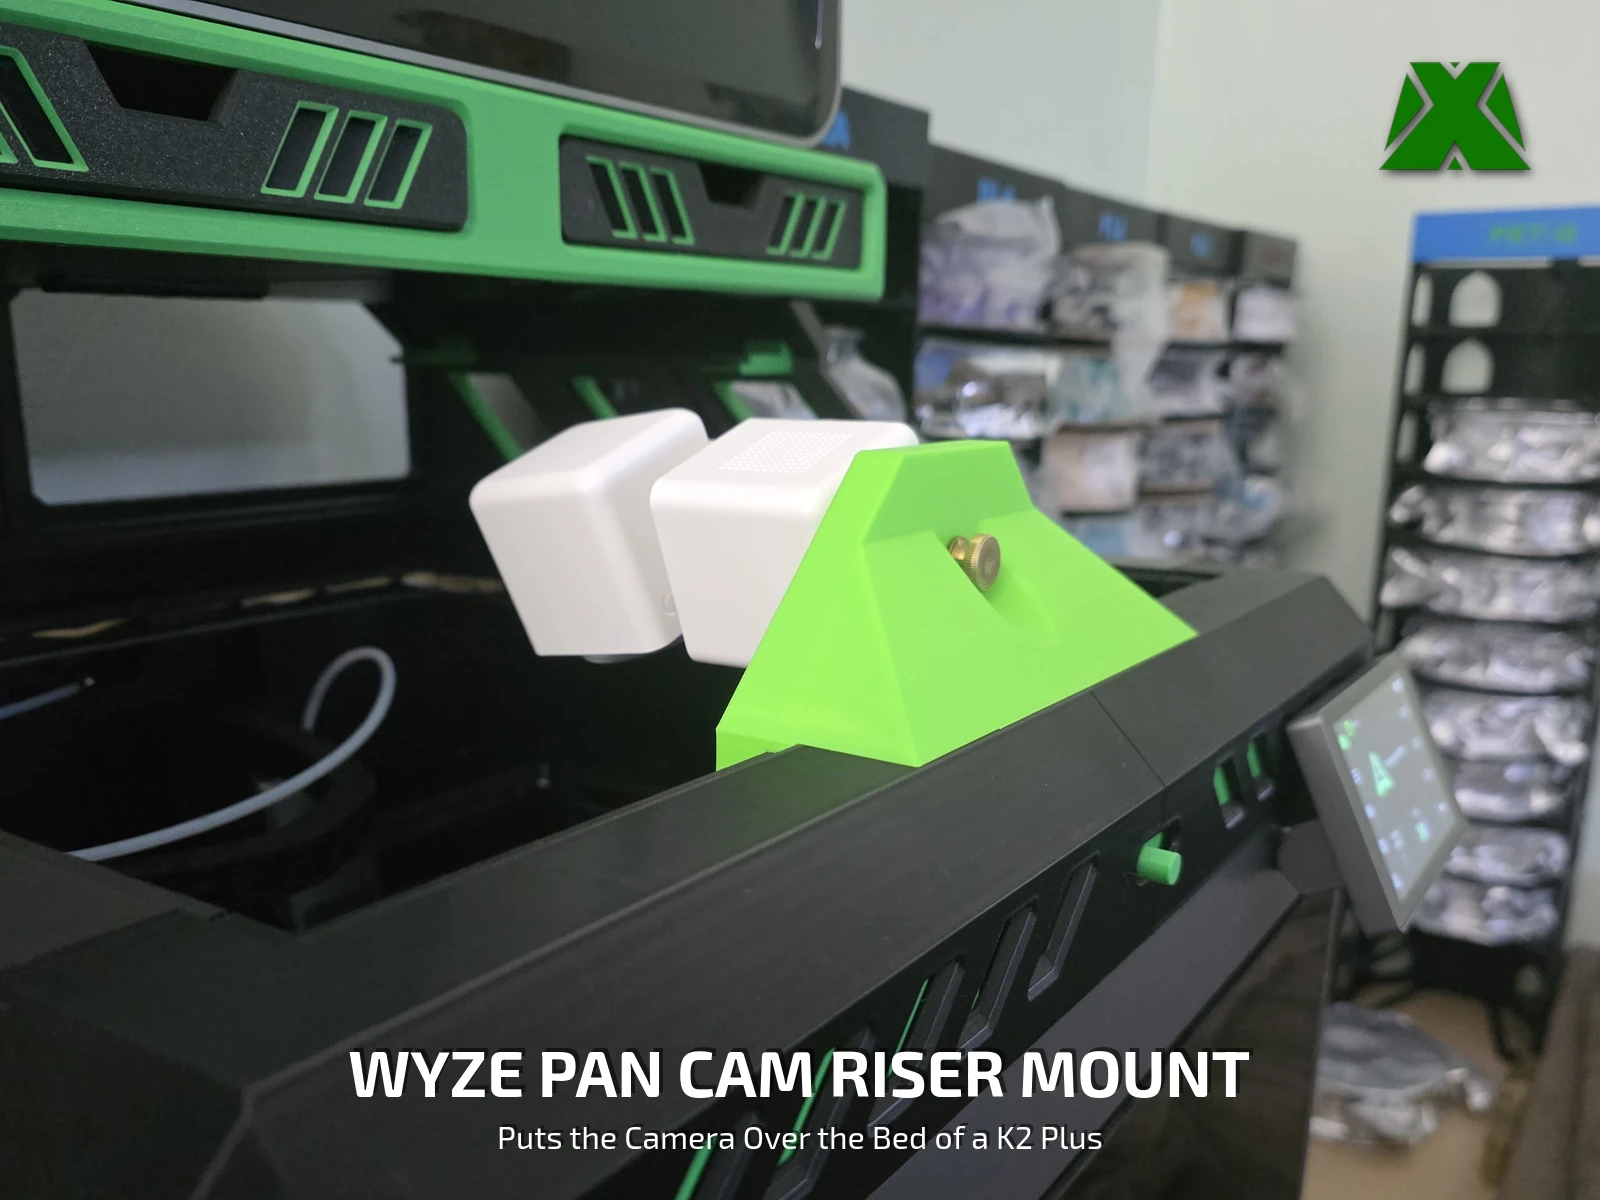
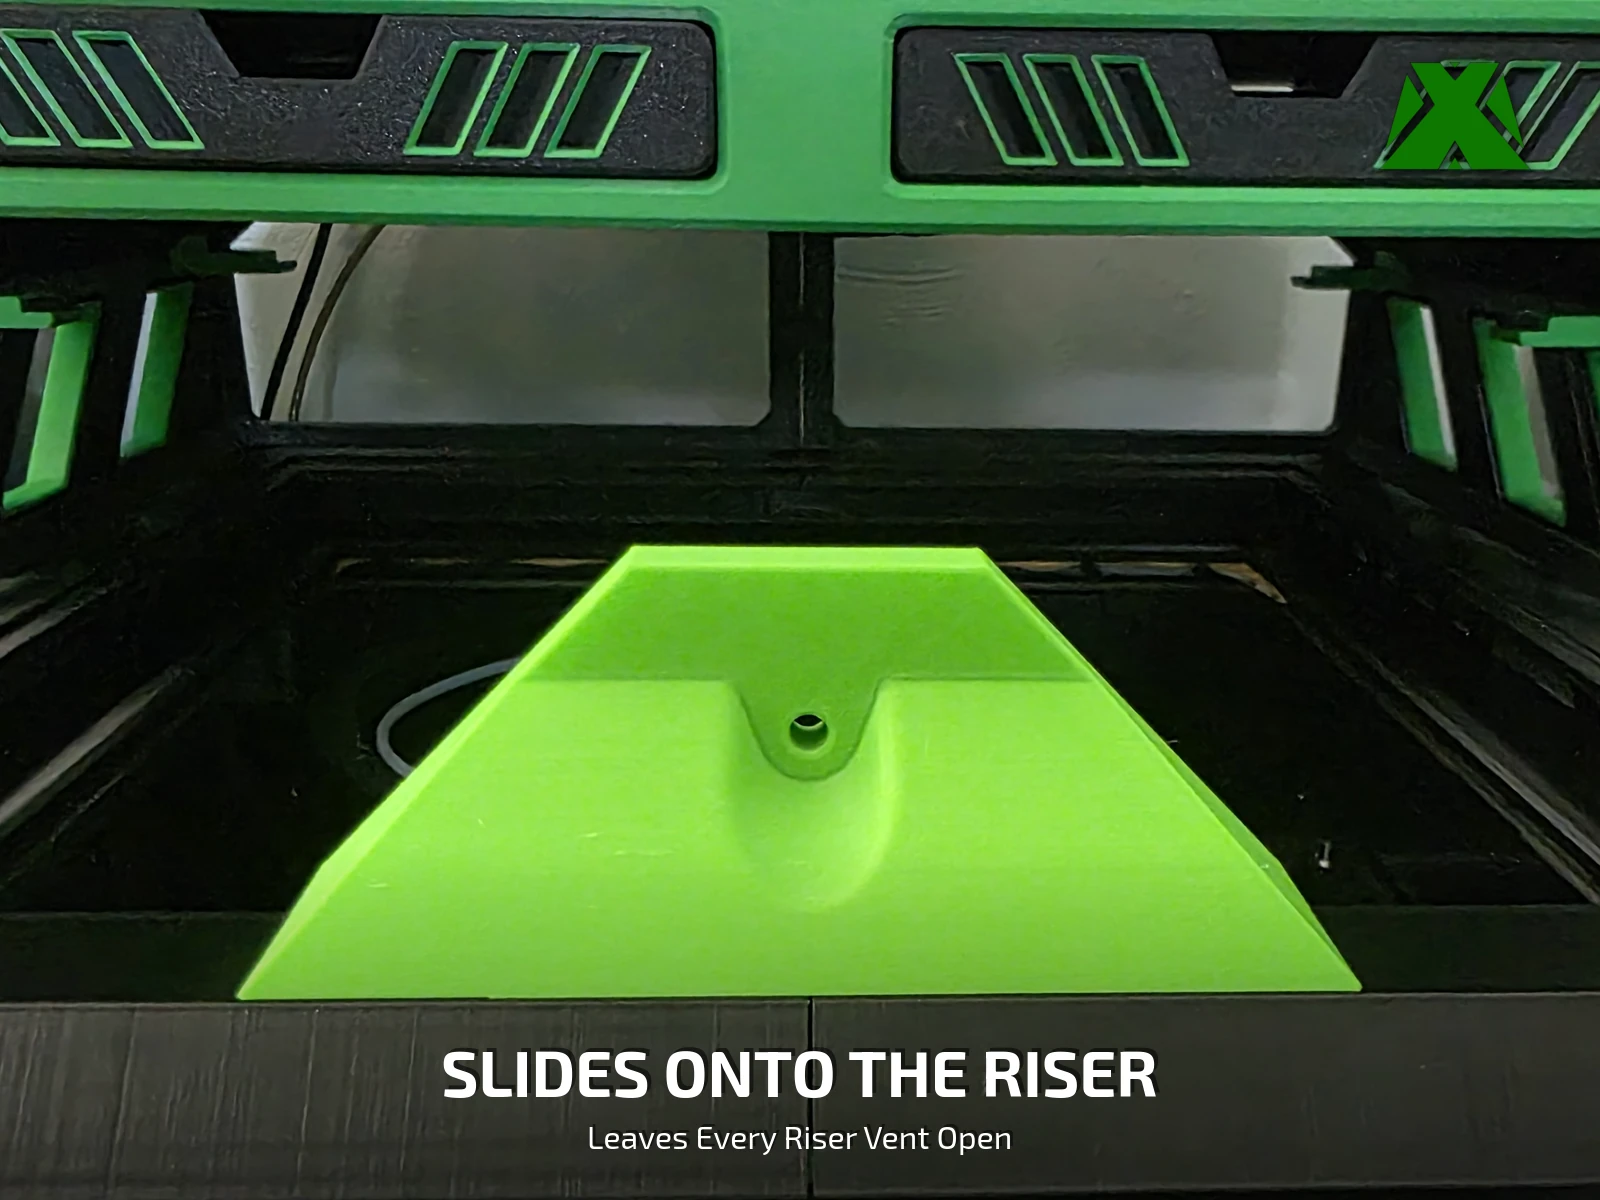
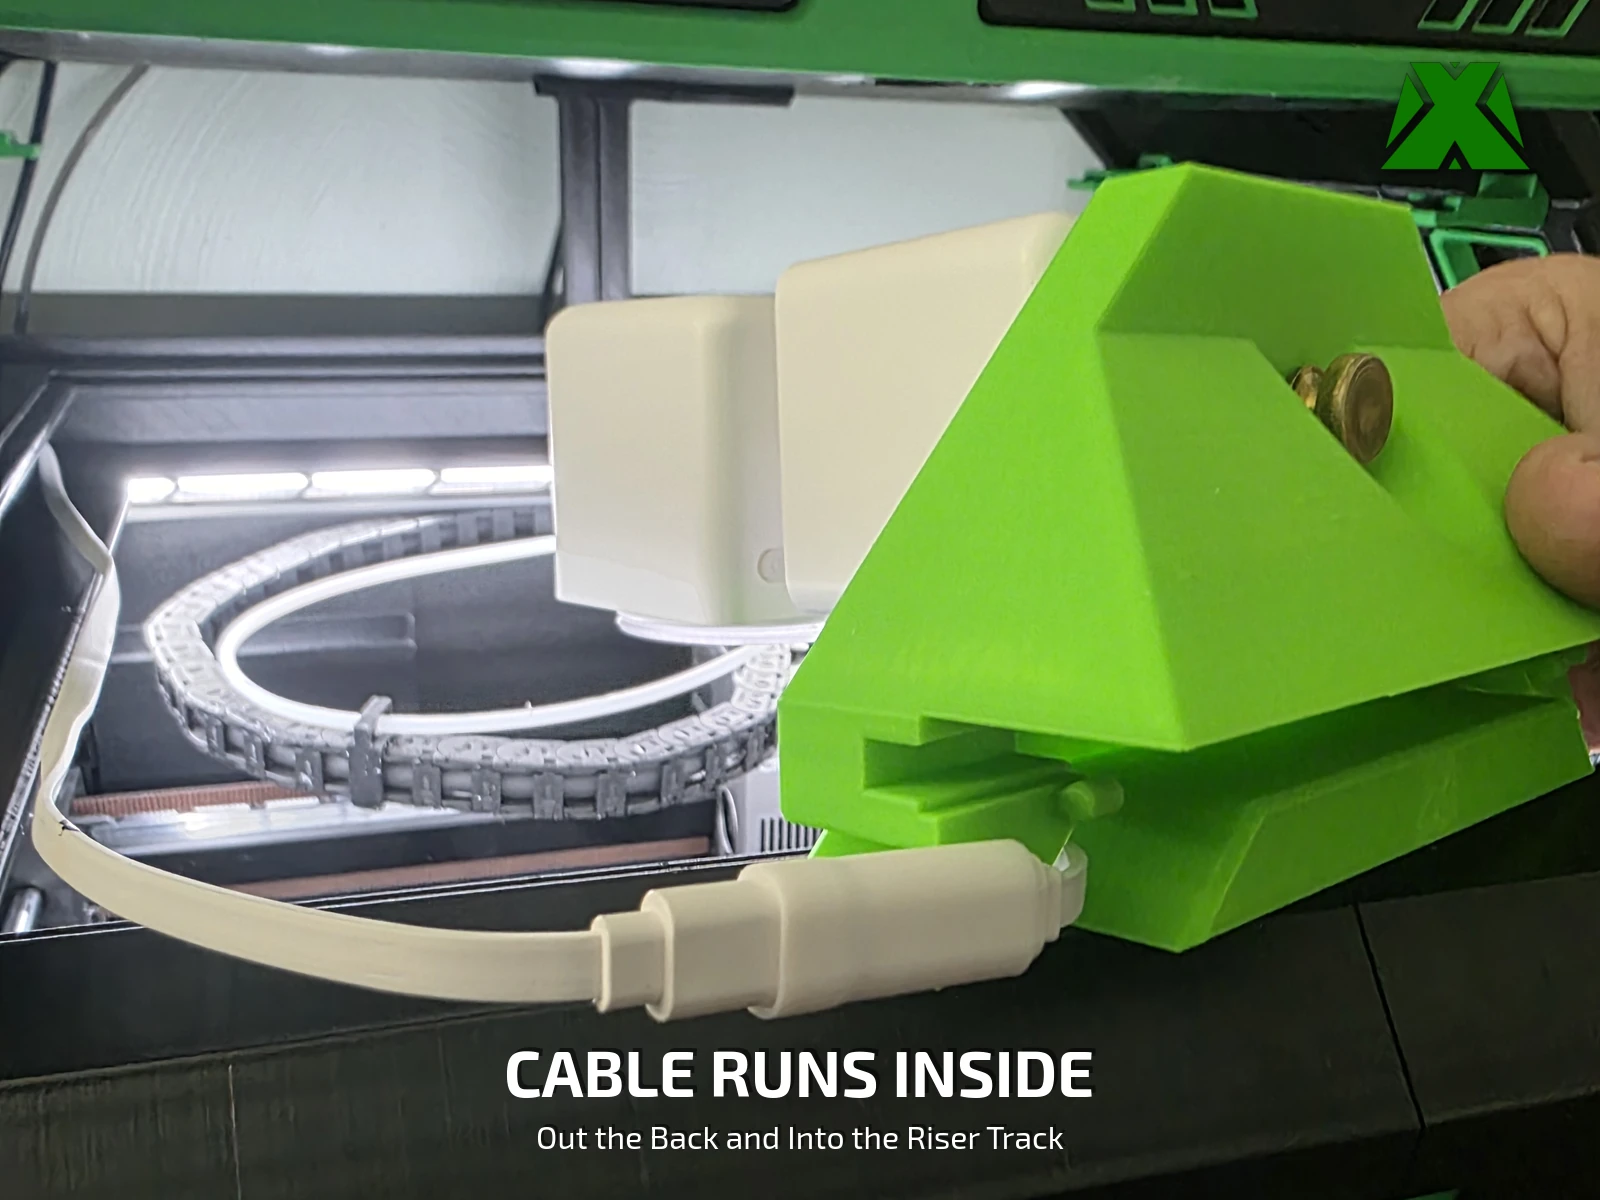
I run a D3P riser on my Creality K2 Plus, and I wanted a Wyze Pan Cam watching the bed from the top, without blocking any of the riser’s vents. So I designed this mount. It slides onto the front of the riser, holds the camera with one screw, and keeps the cable tucked inside.
Downloads
Get the Files
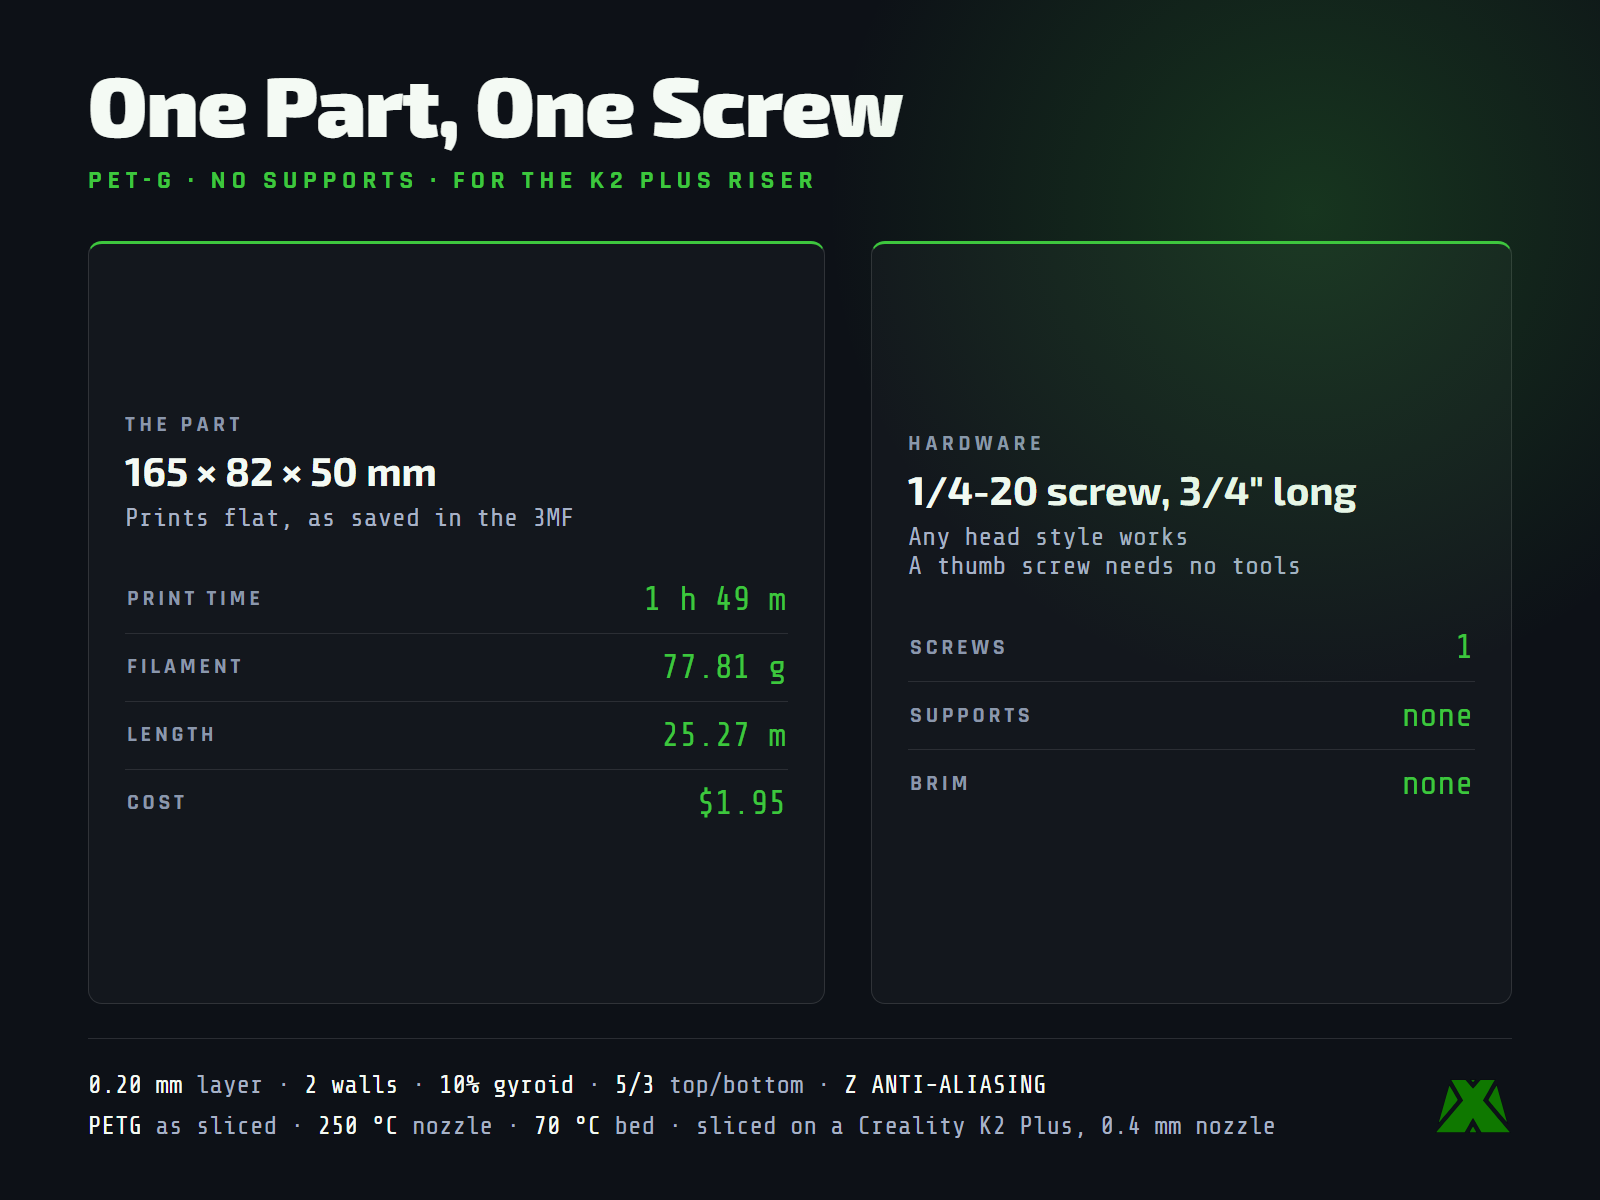
One 3MF with the tested PETG profile already set up, plus an STL for bringing your own. You also need one 1/4-20 screw, 3/4″ long, for the camera.
Every download through Creality Cloud earns points that help keep my models free and my pages running. If you have an account, downloading from there is the best way to support the work at no cost to you.
Download on Creality CloudThe 3MF is the faster path — open it and slice. A full print & install guide is attached to the Creality listing.
The same guide attached to the model listings, hosted here so you can read it before you print —
Before You Slice
Check Your Setup
You need the D3P Riser for the Creality K2 Plus, designed by Darren 3d Print. This mount is built to fit his K2 Plus riser; his riser for the plain K2 is a different size. Get the riser on Thangs.
Designed around the Wyze Pan Cam v4, the camera I use on mine. Other pan cams may work too, as long as they have a 1/4-20 mount.
One 1/4-20 screw, 3/4″ long. Any head style works. I used a brass thumb screw, so no tools are needed.
One tradeoff: the top glass. With the camera in place, the riser’s top glass can’t go on. I don’t need the glass for PLA or PETG, so I set mine aside. For materials that need a closed chamber, like ABS or ASA, take the camera off and put the glass back.
What Makes It Work
Stays Put, Stays Tidy
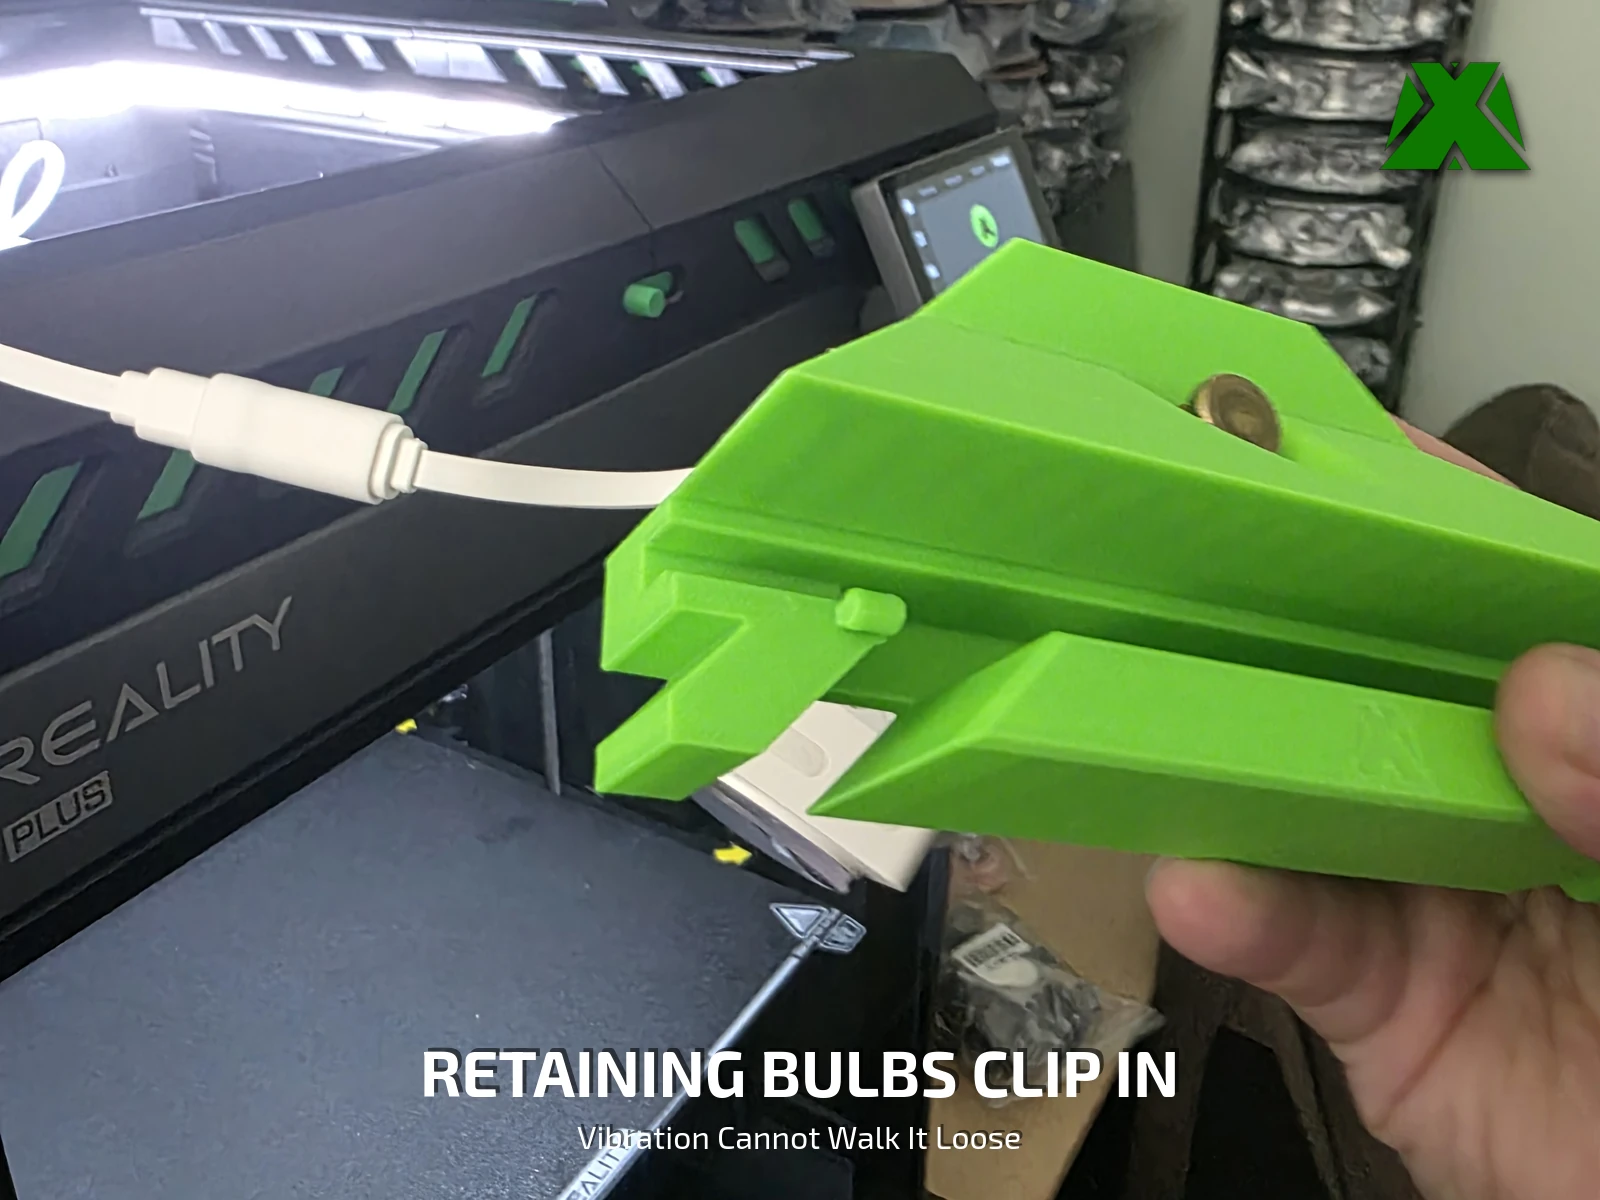
No glue, and no screws into the printer or the riser. It slides on and clips in.
Print Settings
Slice It Right
These are the settings baked into the 3MF, sliced on a Creality K2 Plus with a 0.4 mm nozzle. Open it in Creality Print or any slicer that reads 3MF projects and it is ready to go.
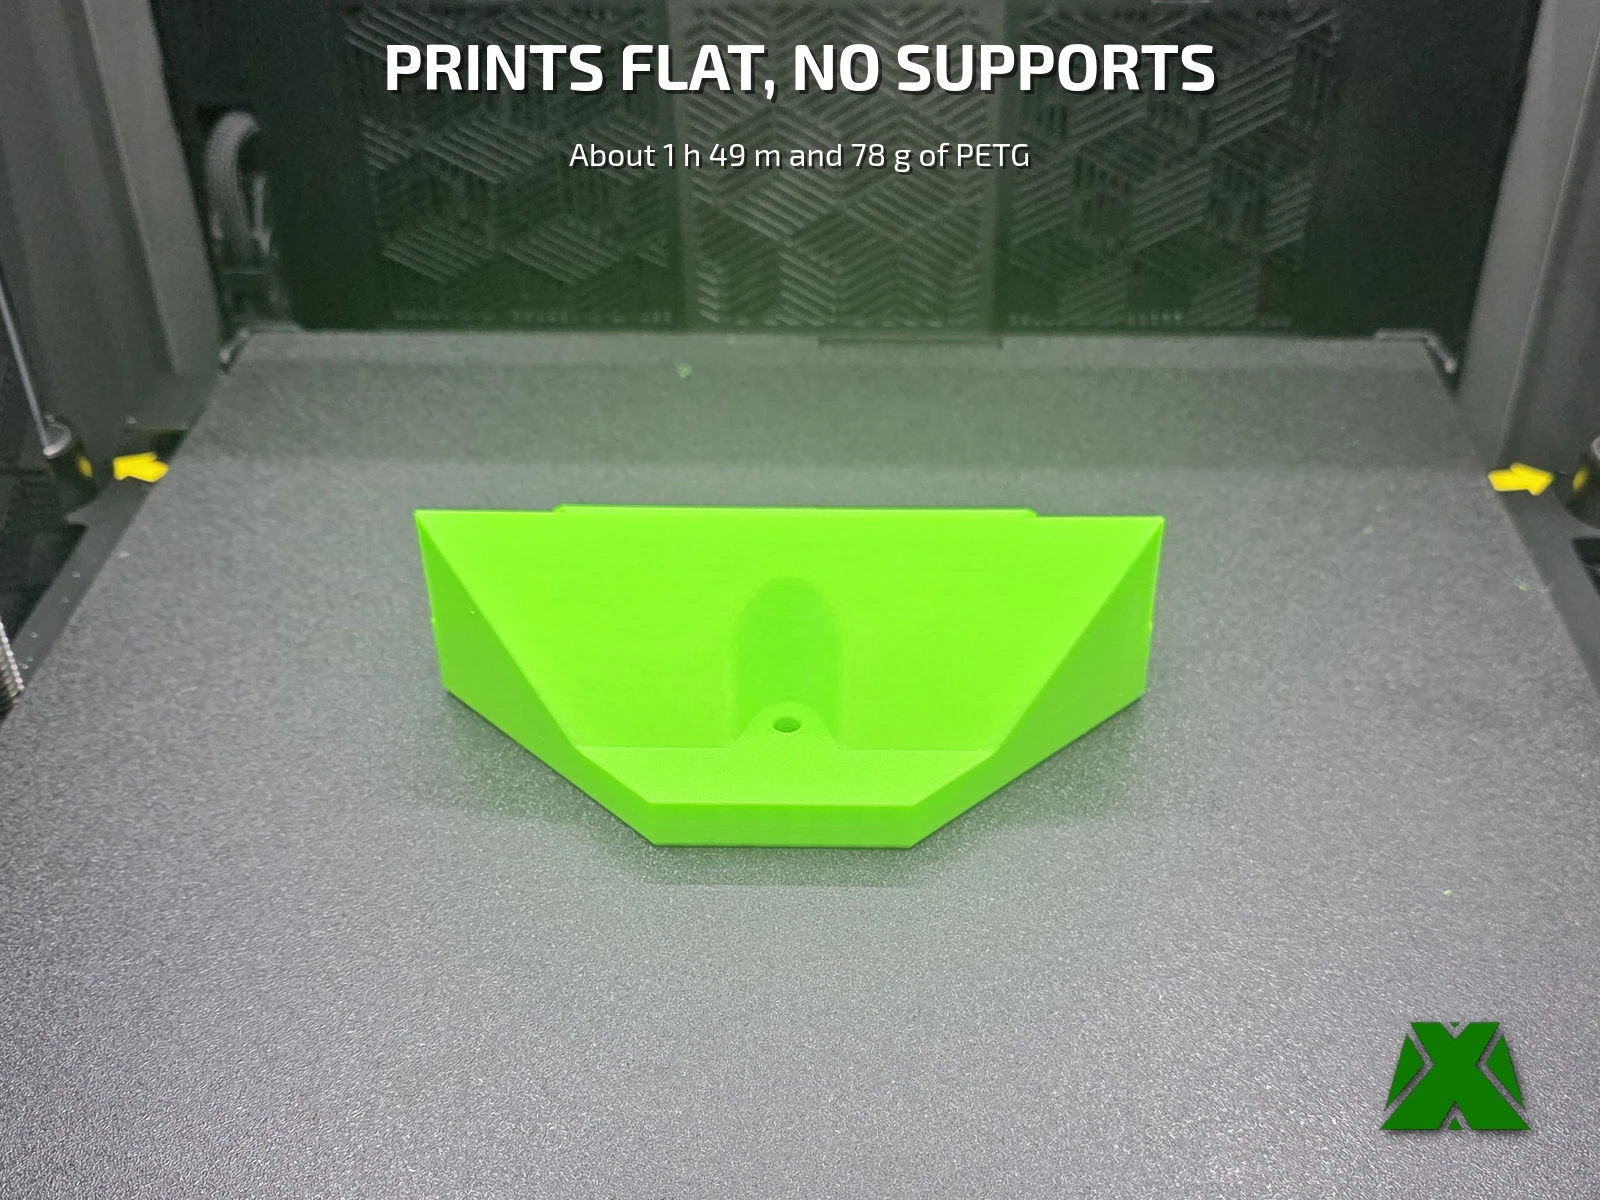
One plate, 1 h 49 m and 78 g. It prints flat, with no supports and no brim. The mount is 165 × 82 × 50 mm.
More models and tested slicer settings on my Creality Cloud profile.
View ProfileReleased under CC BY-NC-ND 4.0 — free for personal use, credit appreciated, no commercial use or derivatives.