Free Model Download
CFS Back-Shelf Desiccant Container
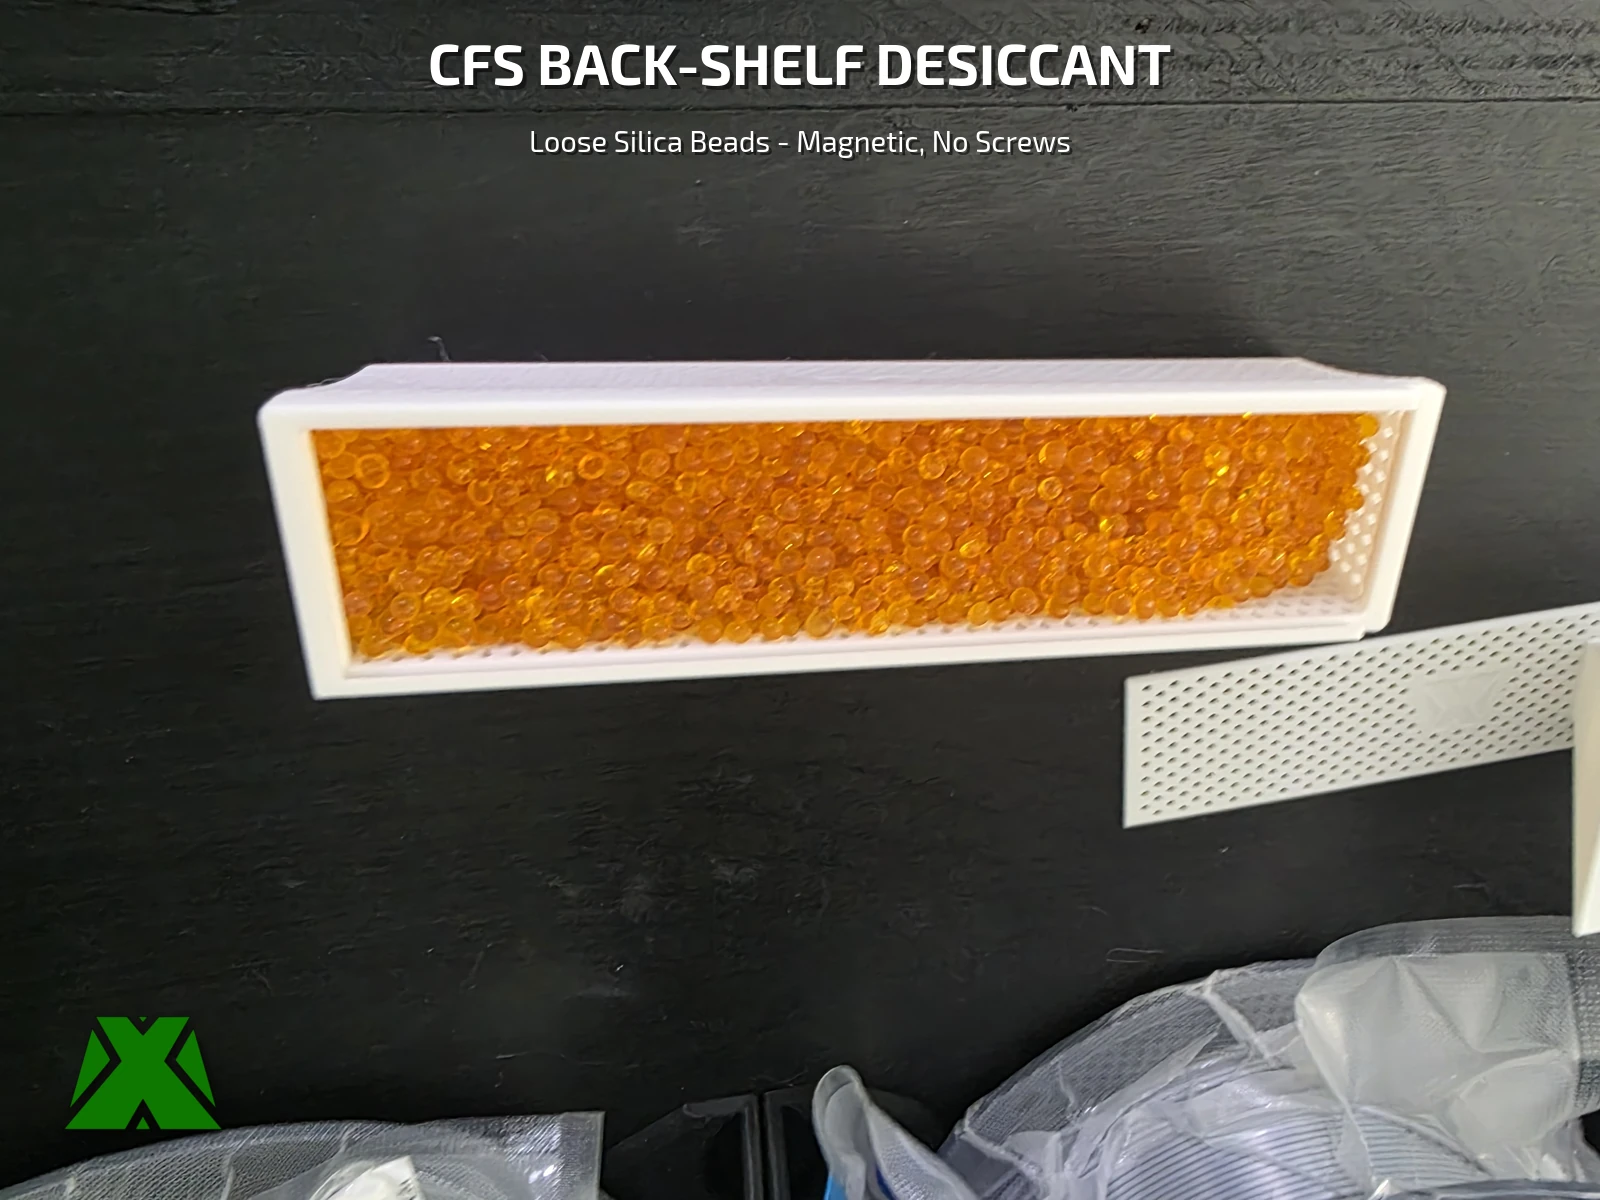
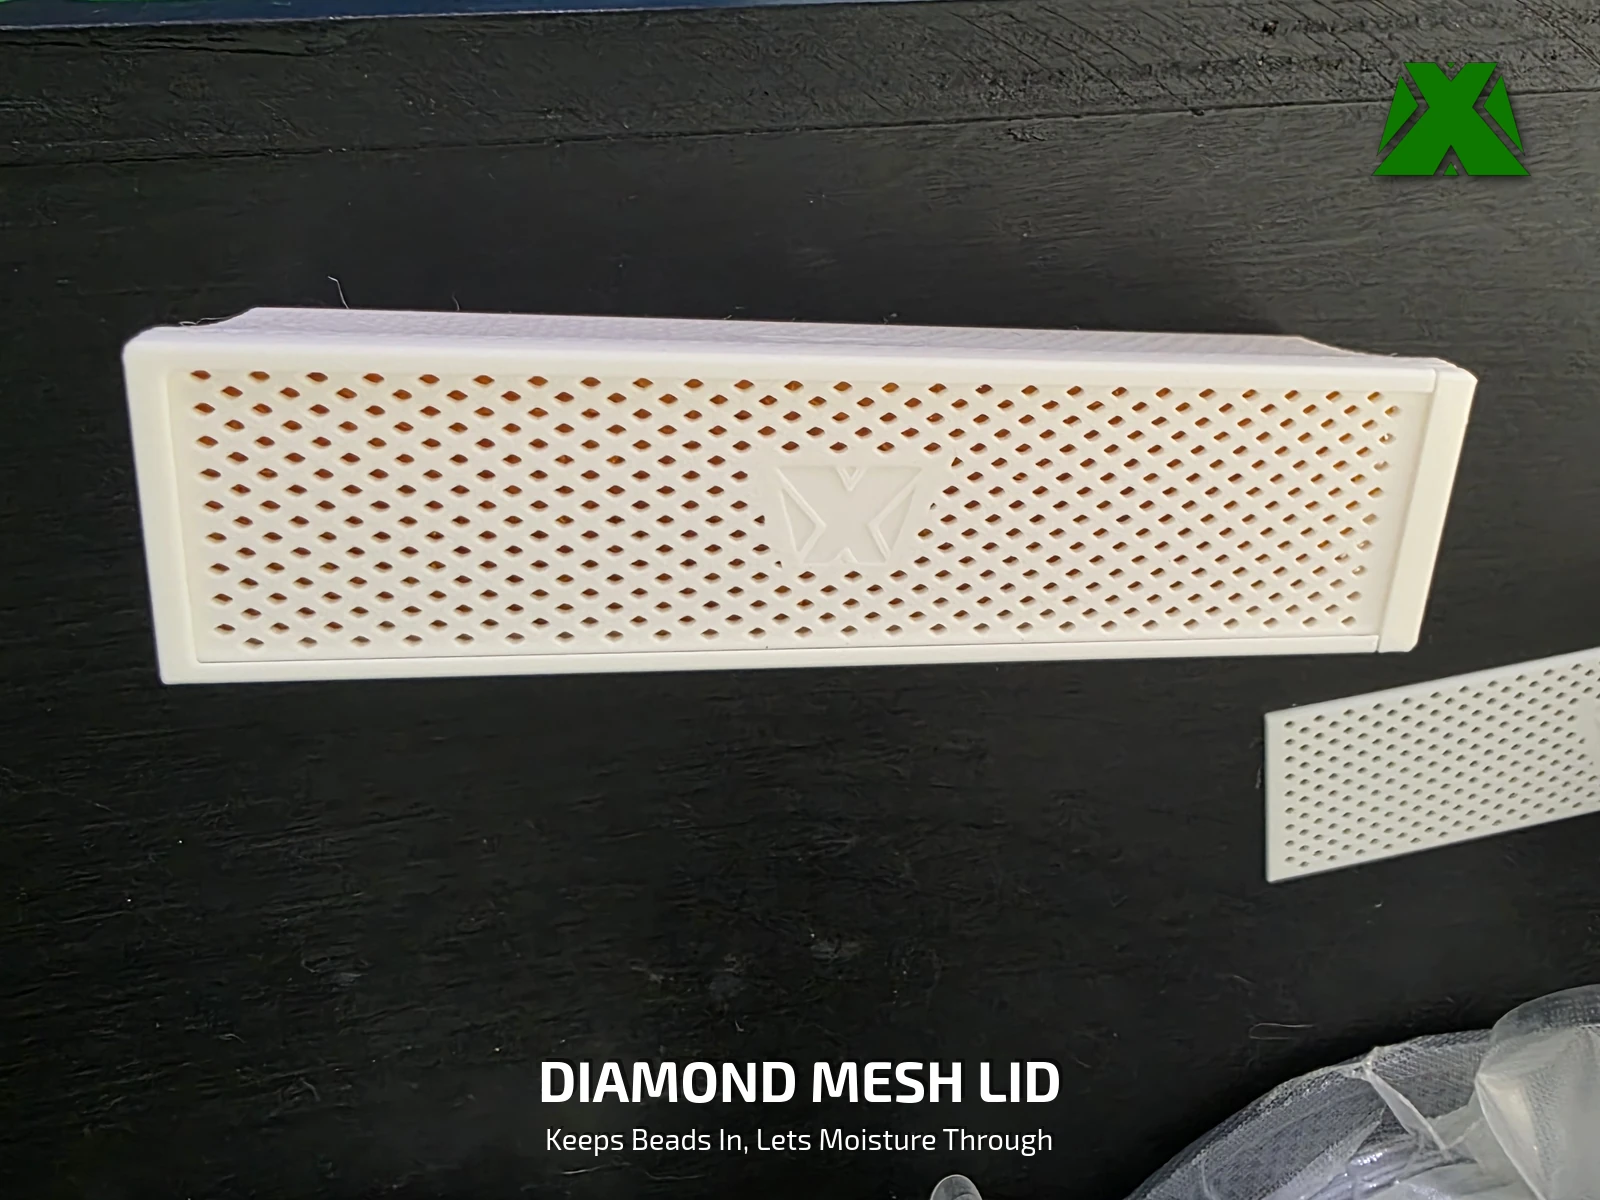
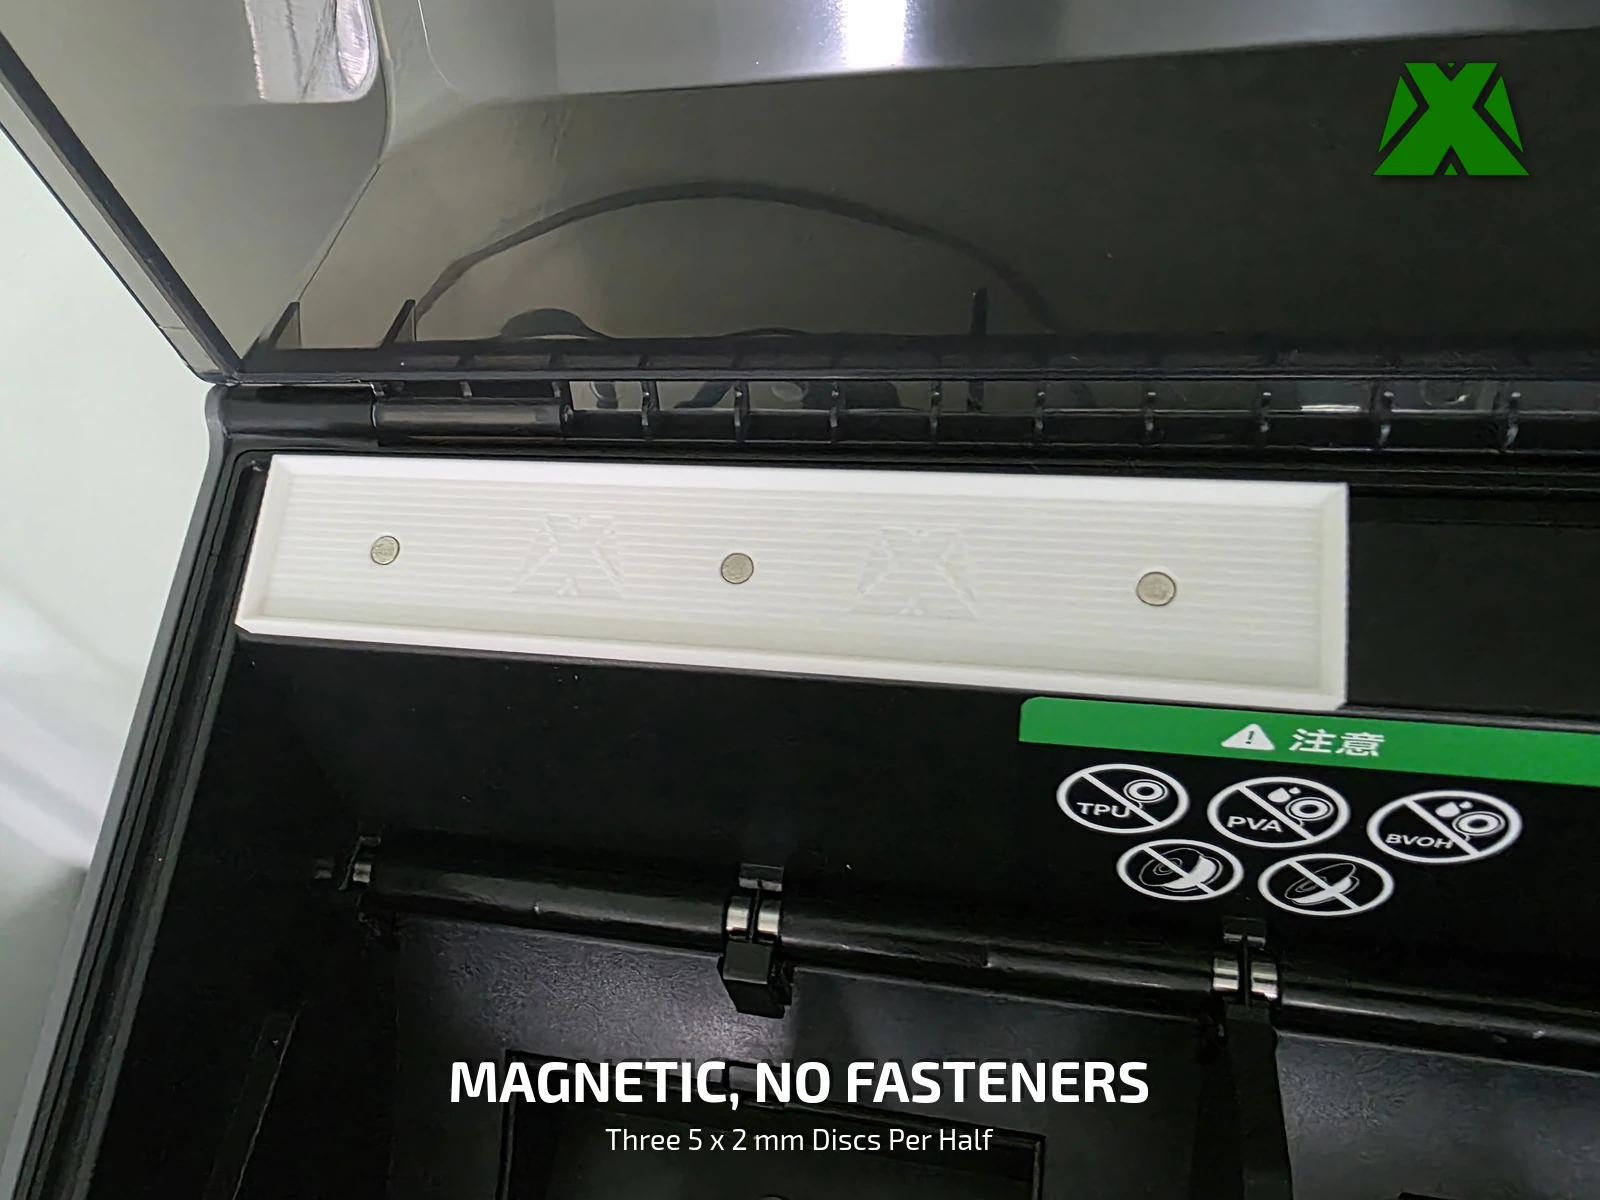
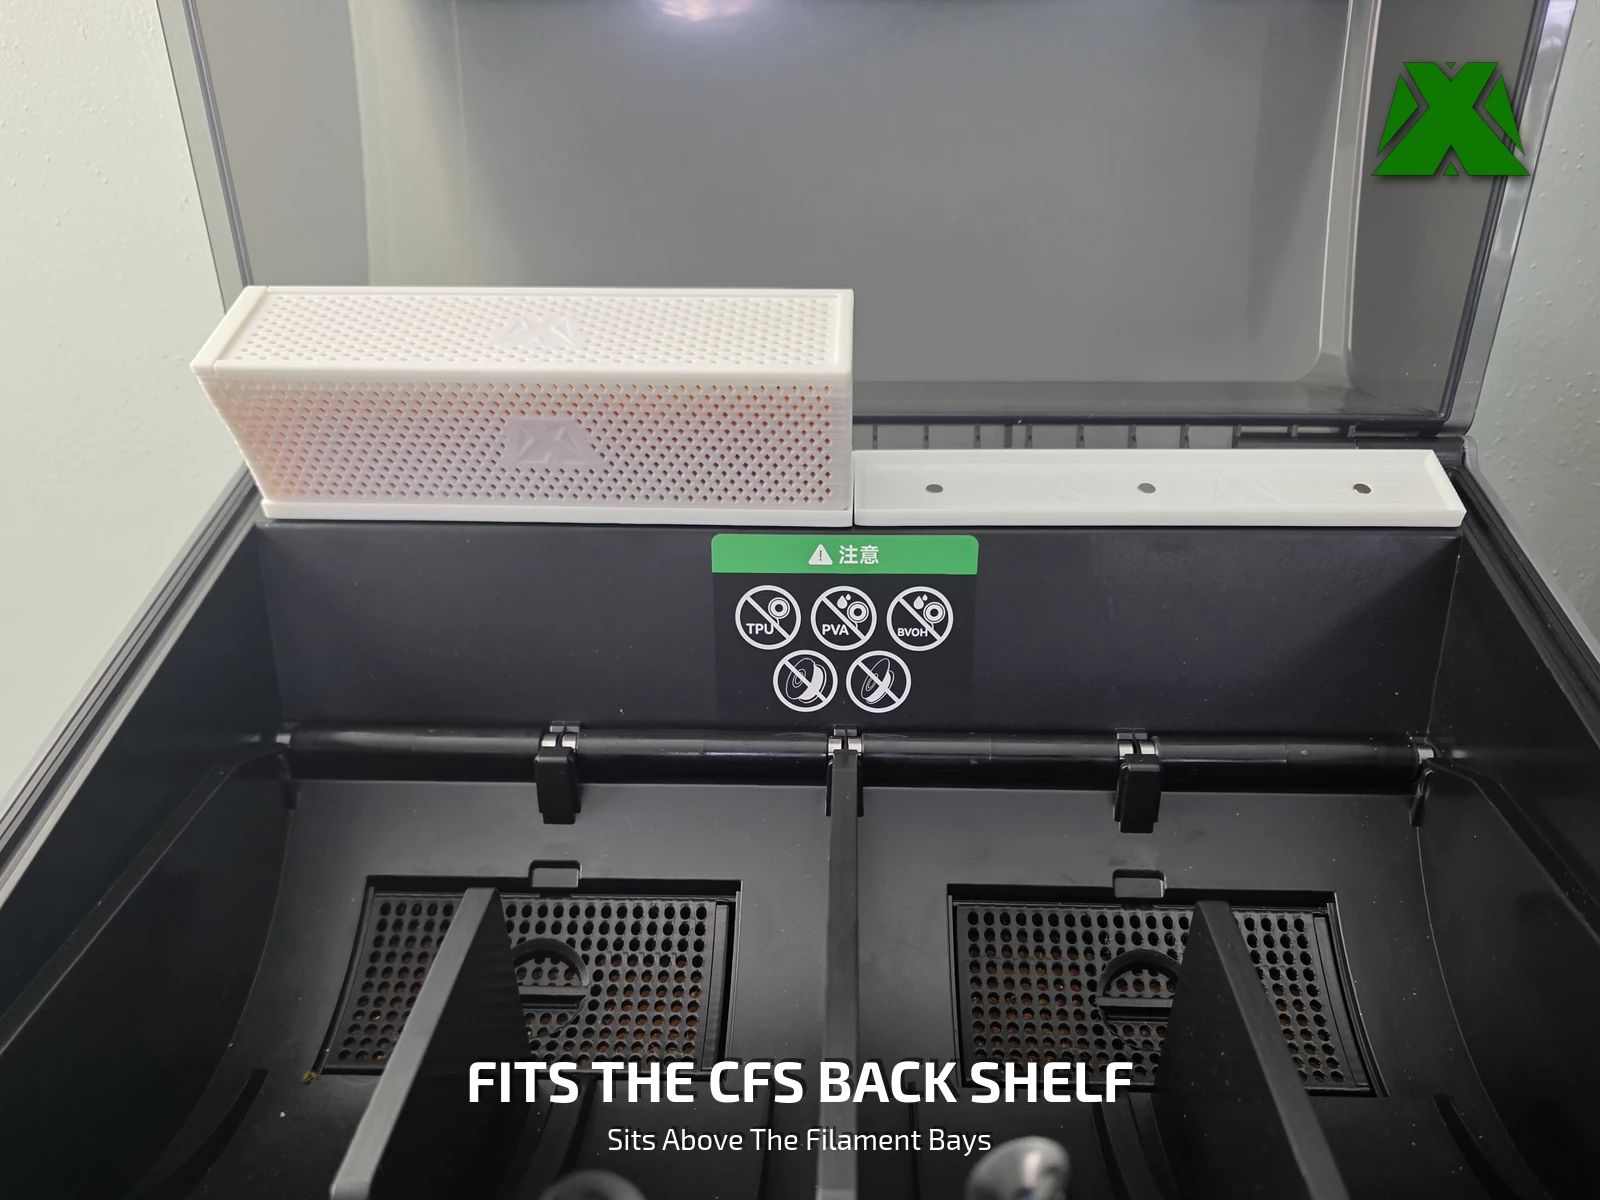
The Creality CFS keeps its desiccant in two cavities in the floor, under vented cover plates, and leaves a long empty shelf running across the back. This puts that shelf to work: two magnetic trays of loose silica beads sitting directly above the filament bays. Nothing is glued to the machine and nothing is modified — two strips of VHB tape hold the base rails, and the trays lift straight out for recharging.
Downloads
Get the Files
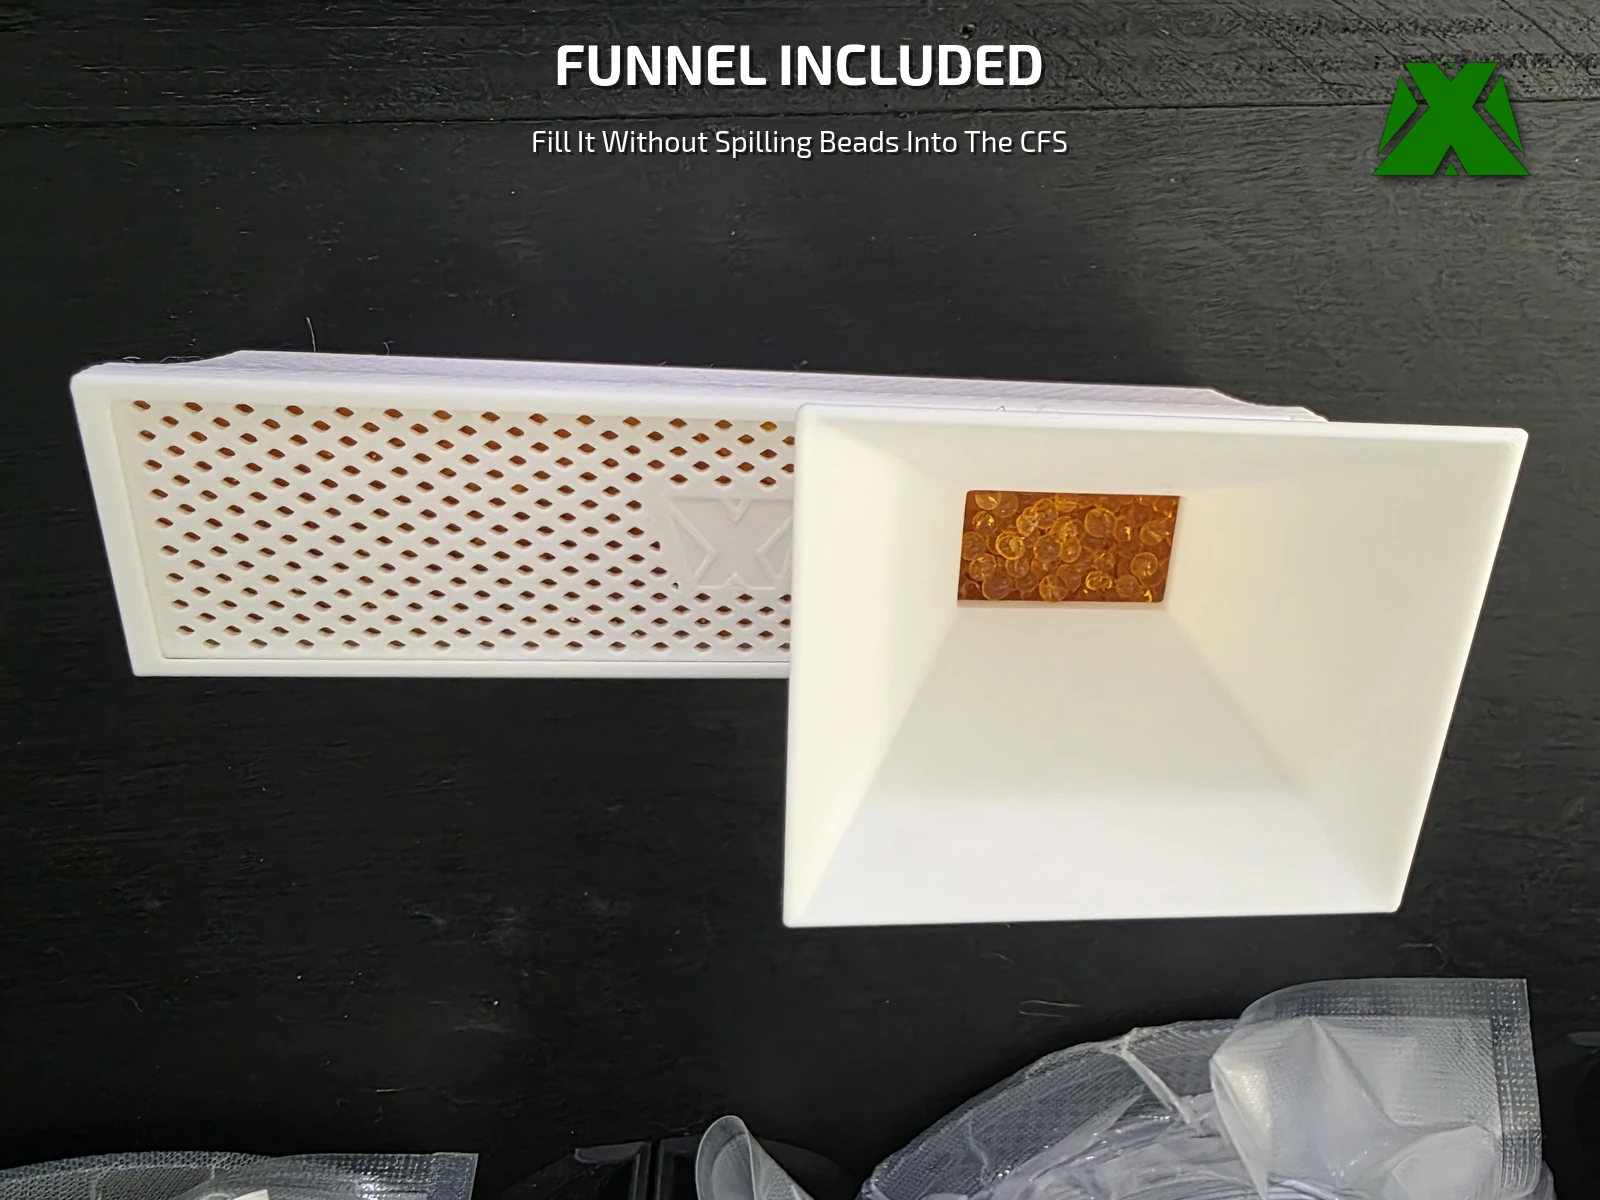
Two plates. The first carries six pieces — two trays, two lids and two bases — and the second is the funnel, which you only ever need to print once. The STLs are in there if you would rather bring your own profile.
Every download through Creality Cloud earns points that help keep my models free and my pages running. If you have an account, downloading from there is the best way to support the work at no cost to you.
Download on Creality CloudThe 3MF is the faster path — open it, pick a plate, and slice. A full print & use guide is attached to the Creality listing.
The same guide attached to the model listings, hosted here so you can read it before you print —
What's Included
Four Parts, Seven Pieces
One CFS takes two trays, two lids and two bases — 164.5 mm each, so the pair spans the whole back shelf and each half still fits almost any bed. The funnel is printed once and kept.
Measured on my own CFS and read off the machine display. From a 38% starting point the enclosure came down to 5% relative humidity in 96 minutes, with the temperature flat at 27 °C throughout — though the desiccant in the floor cavities was recharged in the same session, so that figure is the whole freshly charged CFS and not these trays in isolation. The second test is the one I would judge it on: two rolls on cardboard spools, the wettest spool material there is, went in that evening after six hours in a filament dryer. Humidity climbed to 18%, a print ran overnight, and the machine read 7% the next morning. It is not a sealed box holding a number; it keeps up while the machine is working.
Print Settings
Slice It Right
These are the settings the reference prints were made with. The 3MF carries the full profile — open it in Creality Print or any slicer that reads 3MF projects and it is ready to go. Both plates run the same way: 0.12 mm layers, 3 walls, 10% gyroid and a 5 mm brim, with no supports required anywhere despite all the perforation.
You need to supply three things. Loose indicating silica gel in 3 to 5 mm beads — mine is a cobalt-chloride-free orange gel that turns dark green when it is saturated. Twelve 5 × 2 mm disc magnets, three per base and three per tray, two of each per machine; depending on how your printer holds tolerance you may want a drop of super glue in each pocket. And a strip of VHB tape for each of the two bases. None of it is included in the download.
Take the beads out before you recharge them. Indicating silica is recharged in an oven at 200 to 250 °F, or in a microwave, and PLA starts to soften around 140 °F. Tip the beads into an oven-safe dish and recharge them there. Never put the printed tray in an oven, a microwave or a filament dryer — a dryer runs to about 158 °F, which is already past where PLA softens.
More models and tested slicer settings on my Creality Cloud profile.
View ProfileReleased under CC BY-NC-ND 4.0 — free for personal use, credit appreciated, no commercial use or derivatives.